


8 Ball Deluxe Pinball refurbish
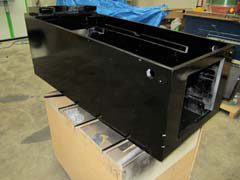
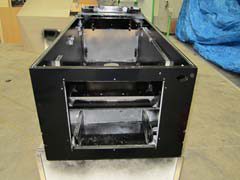
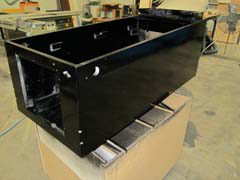
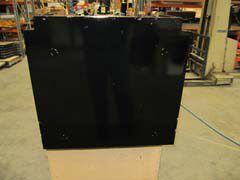
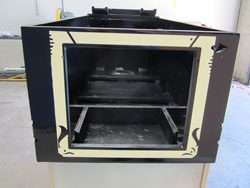
The first stage is to remove all the old paint down to bare timber, I haven’t taken photos of that but for those wanting to see a bare cabinet please visit my Kiss restore page. The Eight Ball Deluxe cabinet after meticulous sanding, filling and more sanding, is then primed and sprayed the base colour of Gloss Black.
If you haven’t done all of your prep work correctly then at this stage it would look unprofessional but fortunately we have done quite a few pinball restores so we know how to do it right. There is no such thing as a quick respray.
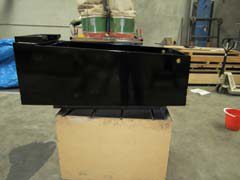
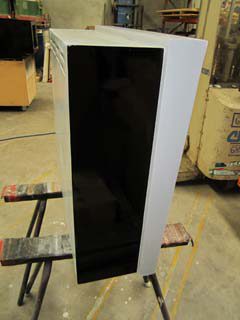
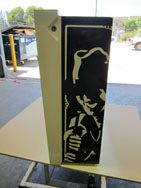
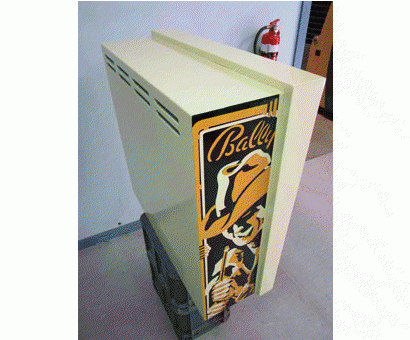
Only the sides need to be painted Black as the rest of it is the same colour Crème as the first stencil to be applied.
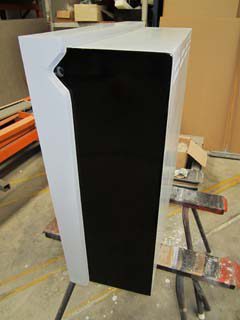
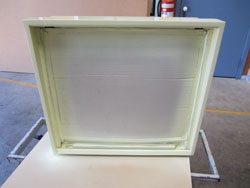
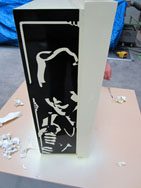
The 1st cabinet Stencil is applied and Sprayed Crème. (This was correctly colour matched at the Paint shop).
The 1st cabinet Stencil is applied, notice the Headbox is now predominantly Crème colour. These bottom pictures don't really show the true colour, almost looks like white.
The second Stencil is applied and sprayed and this is where you finally see the efforts of your labour. With stencils you only get one shot to get it right so when applying the second stencil you have to check, check and recheck.
When these machines were made originally there were always registration errors but I find that today’s customers want it perfect, and this is what we give them.
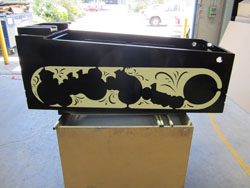
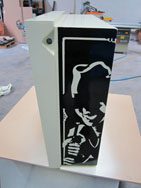
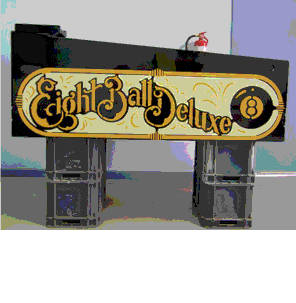
Eight Ball Deluxe cabinet restore is now complete, the colour match was done at a paint shop with excellent results, the pictures don't show the Gold colour accurate enough, and needless to say the owner was extremely pleased.