


Medieval Madness Playfield manufacture for The Pinball Factory.
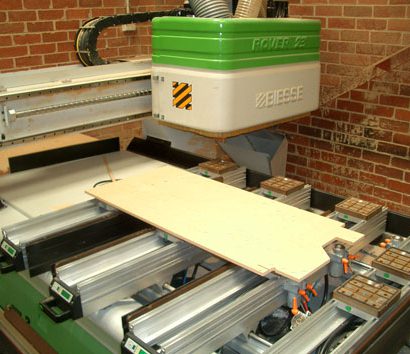
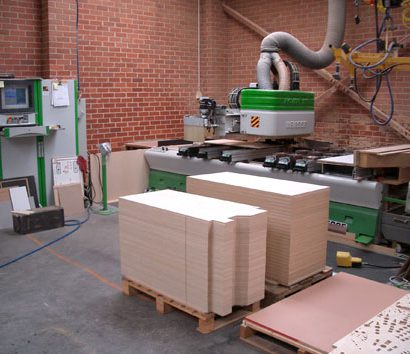
After many hours, (days) spent on the CAD computer we are ready to test cut a playfield for the Medieval Madness Pinball. First the bottom is done as this playfield requires routing on the underneath as well as top. We also include all of the screw holes so these are predrilled for ease of replacing the wiring. Our machine holds 7 router tools and 10 different size drills which are automatically changed by the CNC machine as required.
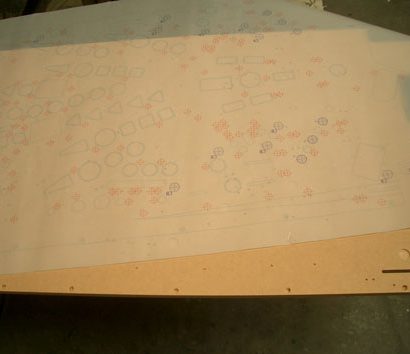
After each side is done it is now carefully checked against the master drawing of the Medieval Madness playfield supplied by the factory. Each hole is then tweaked for positioning and any errors are fixed on the CAD computer. (There's always some). Protype cutting is always done on a cheaper material base.
Once satisfied that all holes are there and in their correct position we then cut through proper material, both sides are done and then rechecked for correct sizing.
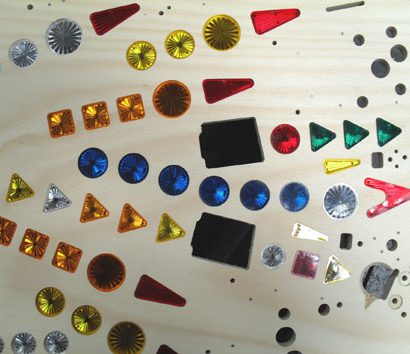
Plastic inserts are then added to check correct fitment and height of the rebates. Any minor changes are done here. Once we are happy the prototype playfield is sent to "The Pinball Factory" for final approval.
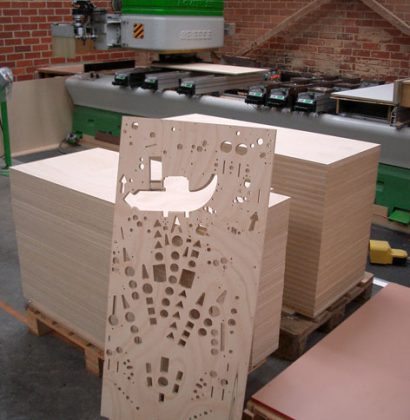
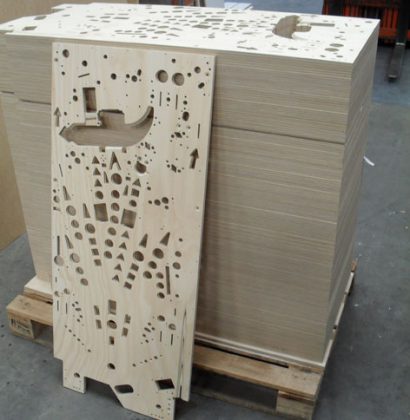
Once completely satisfied that everything is well we then start on cutting all of the material. This picture shows one stack cut and only one side (bottom). Once all of the cutting is done to the bottoms, the boards are then replaced onto the CNC router machine and re cut again to finish the process.
 CNC cutting from CAD to verify detail
At last some light at the end of the tunnel, more than half way through our manufacturing and everything is going well.
While the pictures make it look easy there are many man hours involved in the manufacture of a playfield. There are other steps involved within these shown above but I can't tell you everything. Our part in this is the first step in the complete manufacture, from here the playfields still need the insert placement, levelling, screen printing, and then final clear coat application and polishing.